3D Laser Scanning
In 2019, H-S invested in laser scanning technology which had originally been developed to report detailed measurements within rocket nozzles at NASA. Reutilizing the technology for use on a smaller scale produced H-S Precision’s quality control process: 3DLC® (three-dimensional laser certified).
H-S Precision is able to determine the quality and consistency of the rifling and the bore using this technology. Without touching the barrel itself, the LP sensors within the machine act as laser calipers, recording over 3.1 million points of data per inch, precisely measuring the internal dimensions and features of the barrel. Not only does this quantify your barrel’s build, but also qualifies it under high quality control standards down to 0.0005” accuracy.
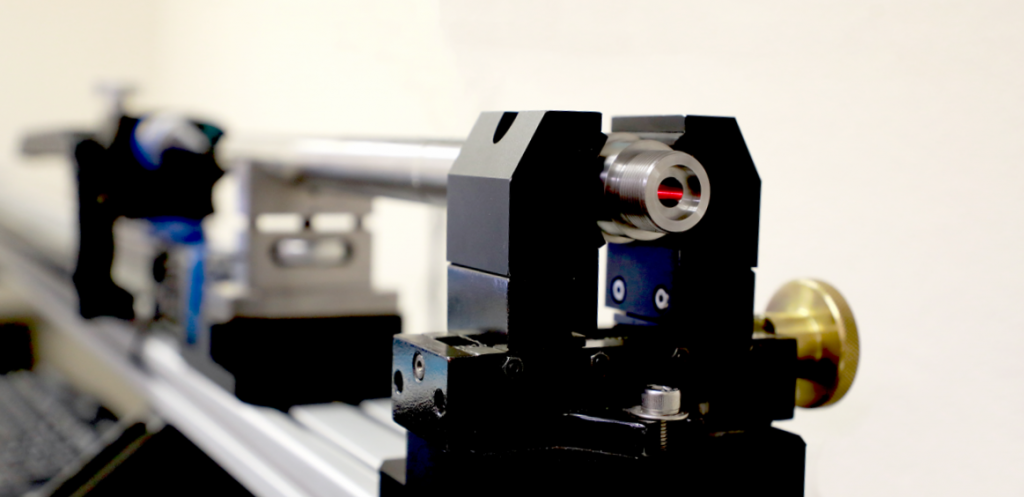
For Screening New Machined Barrels
– Certifying dimensional accuracy of machined barrels.
– Accurately measuring land and bore diameter across the length of barrel.
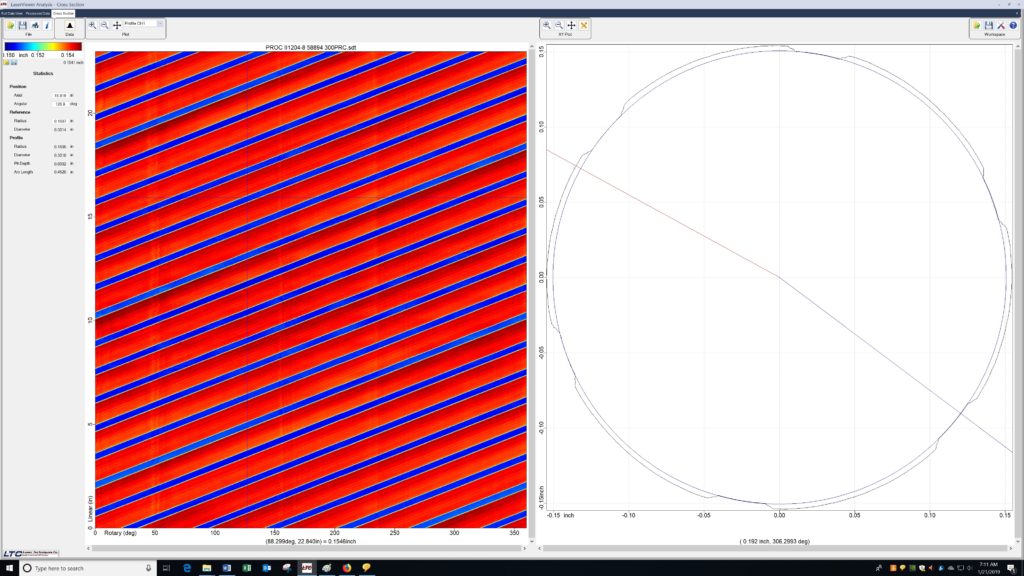
– Certifying characteristics like Twist Rate, Groove Width, and Groove Depth, origin of rifling and generating graphs for the same.
– Plotting Average land and groove diameter and average groove width across the length of the barrel
– Highly capable in accurately measuring groove diameter for rifling with odd number of grooves. (5 groove barrel)

– Plotting Runout of grooves as compared to the bore across the length of the barrel.
– Generating Visual Graphics to identify and detect features, machining flaws and defects.

Lance scanning services provide you with detailed information about your barrel. Send us your barrel to be Three Dimensional Laser scanned and find out the exact details of your barrel. Call us today at 605-341-3006!
– Non-contact, high resolution bore map
– Sensor acts as a “laser caliper”
– Quantitative results
– LaserVideo™ Image
– Better than .0005” accuracy (typ.)
– Inspection results displayed in 2D or 3D format or tabular format
For detecting and measuring pits, Erosion wear through the lifetime of a barrel
Quantifying, measuring and visualizing Throat Erosion
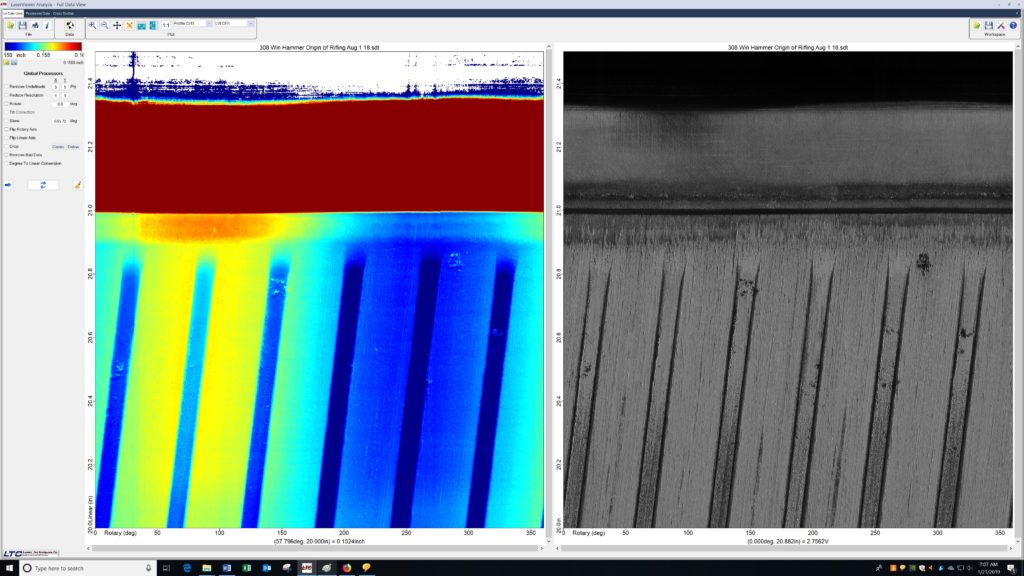
Image showing the origin of rifling on 308 win, after a two thousand rounds
– Detecting, plotting and visualizing features such as, Pitting, tears, wall damage and wear inside the bore.
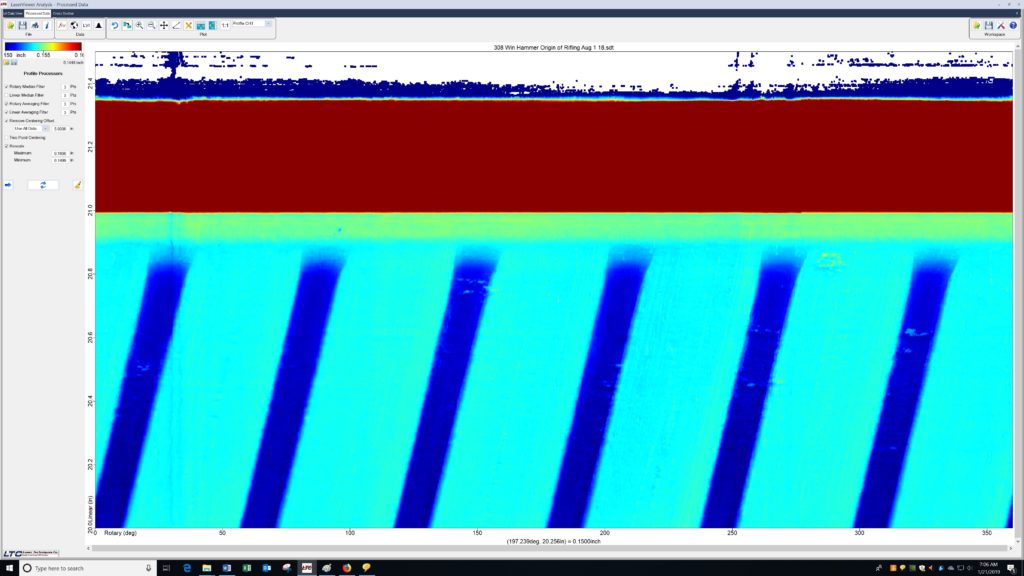
Image showing visible Pitting on lands
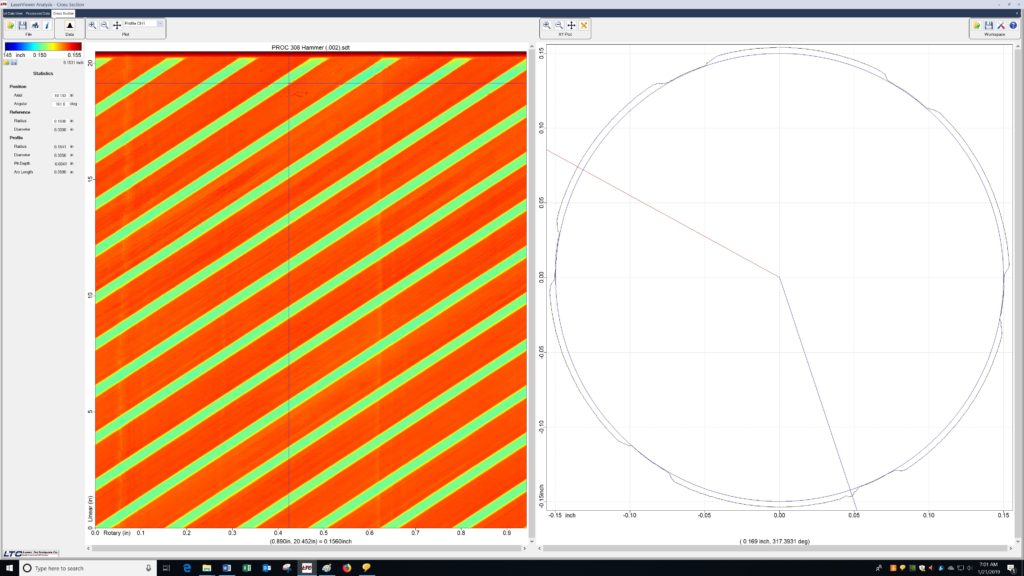
– Capability to detect and measure features inside the rifled bore
– Measuring the variations in the land and groove diameters
– Identify locate and measure bad spots (wear)
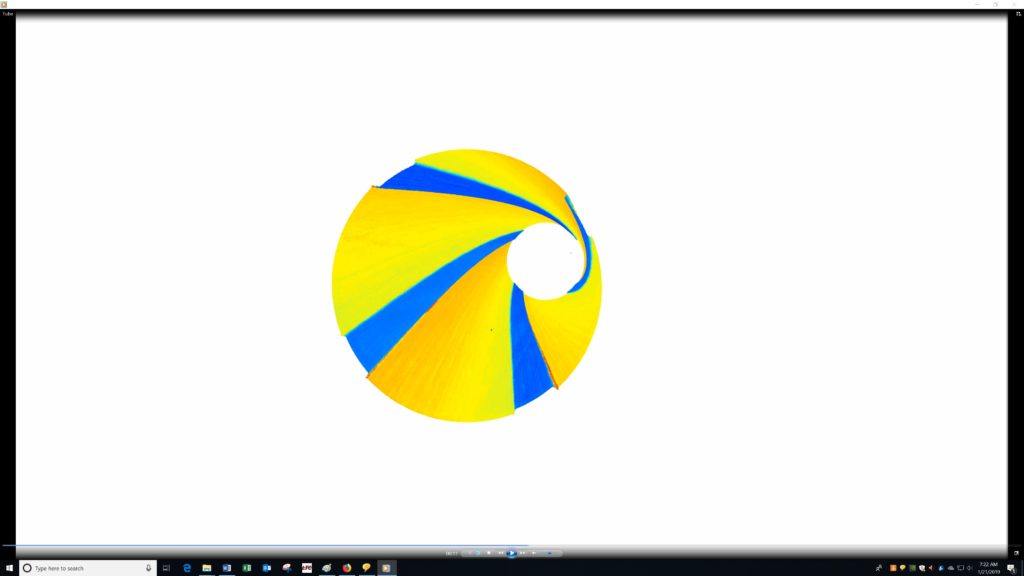
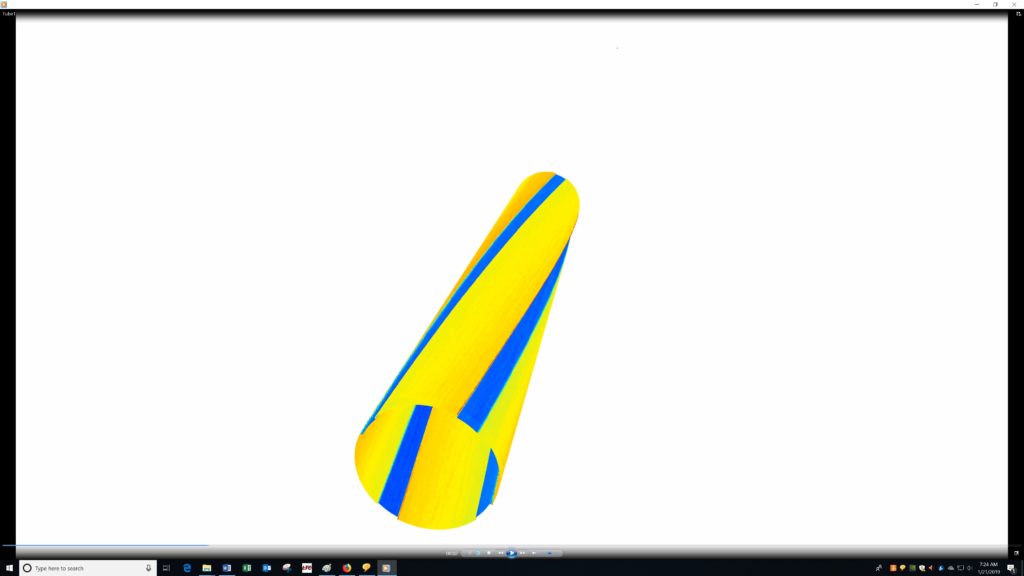
– 3-D graphic highlighting the land groove and machining features
Engineered for Accuracy®
Rifles Built One At A Time
To Your Specs
